End User Managed Sender Lists

Dec 08, 2025
 34
34
End User Managed Sender Lists
You can list a user's Managed Senders, by using the following steps:
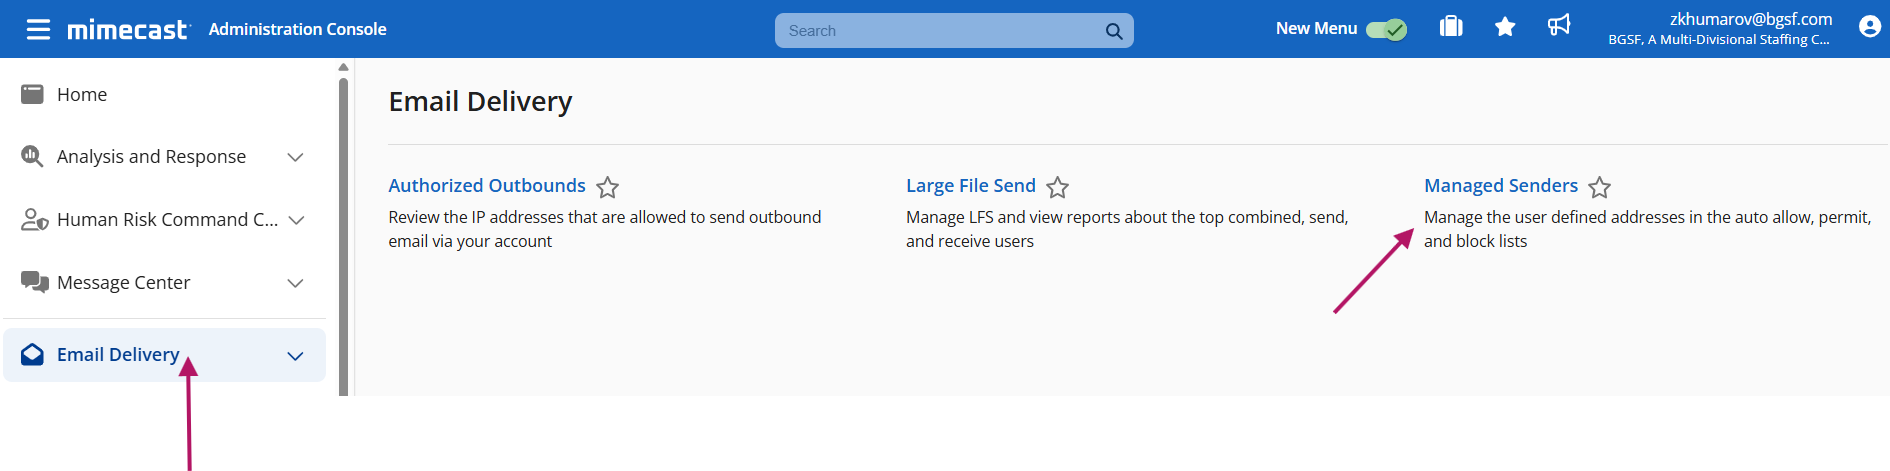
- Log in to the Mimecast Administration Console.
- Navigate to Email Delivery | Managed Senders.
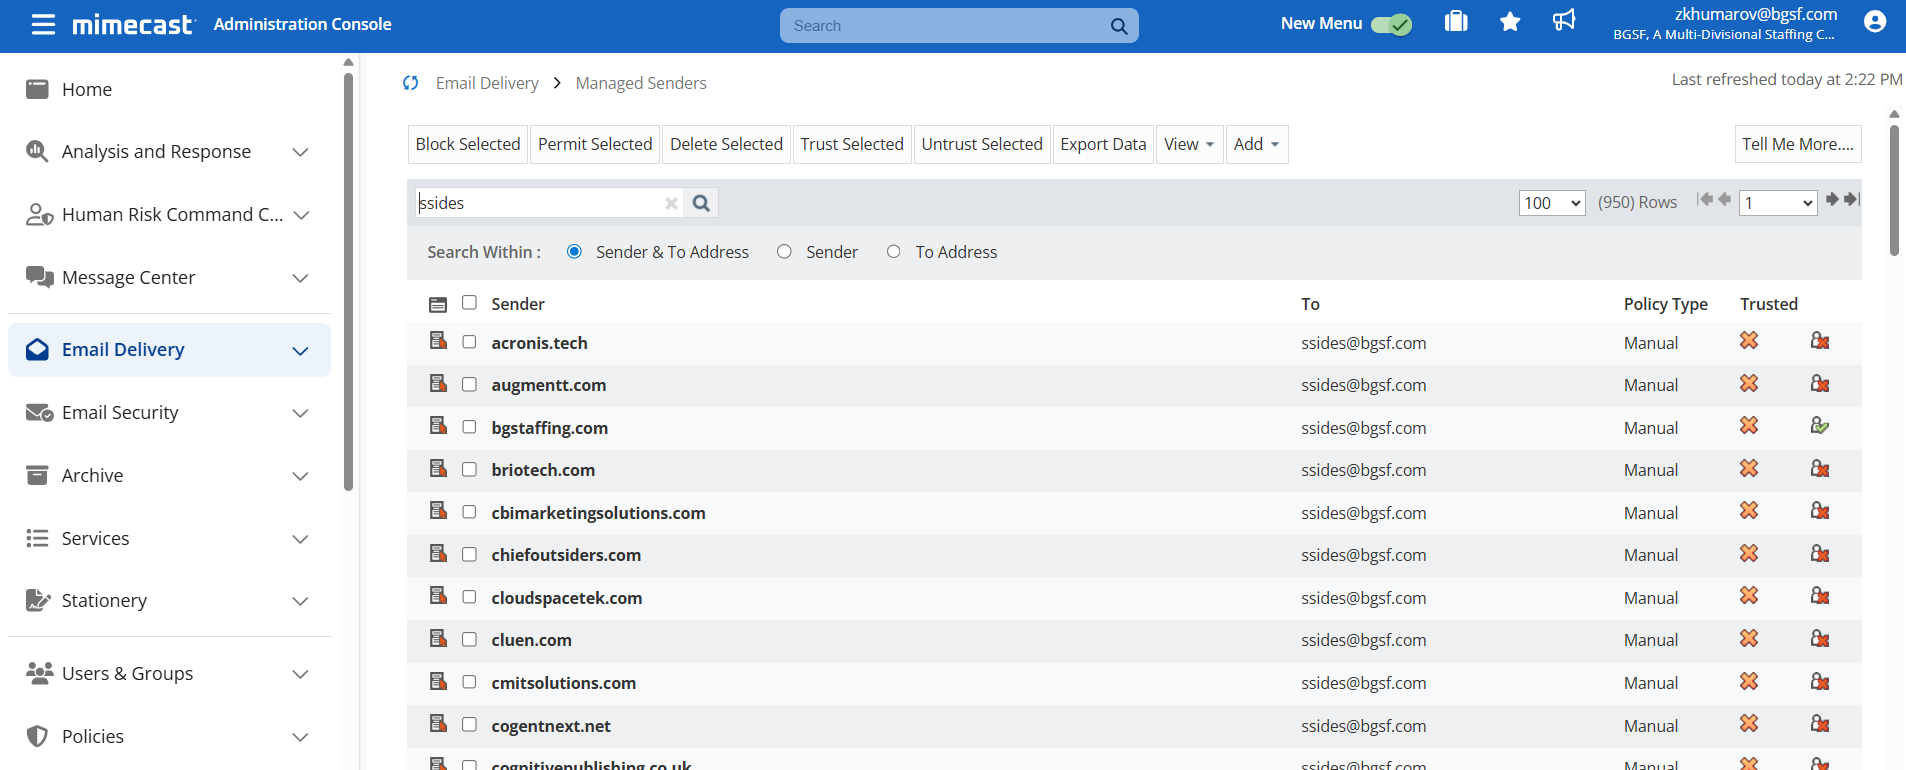
- A list of personal entries is displayed, along with a toolbar that allows you to:
-
- Search for an entry by entering the email address/name of the internal user.
- Block/permit addresses/domains.
- Delete, view, or add addresses / domains.
- Export entries.
The View menu can be used to filter by blocked, permitted, or auto-allow entries. Each entry displays the sender/recipient address, along with the policy type:
The View menu can be used to filter by blocked, permitted, or auto-allow entries. Each entry displays the sender/recipient address, along with the policy type:
| Policy Type | Icon | Description |
|---|---|---|
| Auto | An Auto Allow entry has been created. This is automatically configured when the user sends a message to an external recipient, who is automatically considered a trusted sender. See the Note: An auto-allow entry is automatically deleted if no messages are sent to the address for 120 days. | |
| Manual | Shows a manual permit entry. | |
| Shows a manual block entry. | ||
| Disabled | - | A small sample of Auto Allow addresses is scanned for spam on a random basis. We may disable the auto-allow entry and place the message on hold if it is suspected as spam. This doesn't apply to manually created auto-allow entries, and the auto-allow rule is re-enabled when the internal user sends an email to the external recipient. |
| Trusted | or |
Displays one of the icons to indicate if the email address has been added to the user's trusted list. See How Does Targeted Threat Protection - Attachment Protect Work? |
Blocking, Permitting, and Deleting Entries
You can block, permit, or delete one entry, by using the following steps:
- Right-click on the entry.
- Select the Block Sender, Permit Sender, or Delete menu item.
You can block, permit, or delete multiple entries, by using the following steps:
- Select the Tick Box to the left of the required entries.
- Select the Block Selected, Permit Selected, or Delete Selected button.
Trusting / Untrusting Entries
See Configuring Attachment Protection Definitions and Configuring Attachment Protection Policies for further details.
You can trust / untrust users, by using the following steps:
- Select the Tick Box to the left of the required email addresses.
- Select either:
-
- Trust Selected.
- Untrust Selected.

